How to mic a drum kit
Guidelines for miking a drum kit
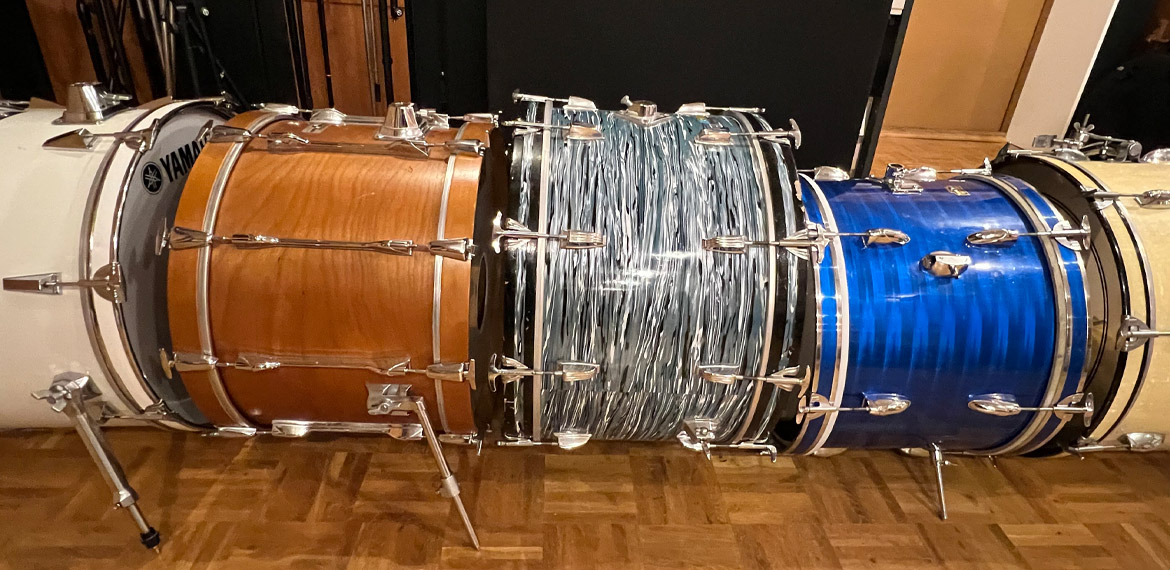
A drum kit can be difficult to record or amplify optimally because of its size and complexity. It can include a wide range of instruments like kick drum (bass drum), snare, overheads, tom-toms, hi-hats as well as supplemental elements such as chimes, wood block, cow bell, etc.
Each individual element of the drum kit has its own unique sound to capture. So, when miking the drum set, the first consideration is whether to capture the sound “as is” - meaning the whole drum kit as a person hears it acoustically or capture the sound of each element separately.
Due to the complex nature of the kit, the close proximity of the elements often creates a lot of cross talk between each instrument, which can be beneficial or a huge challenge, depending on the end goal.
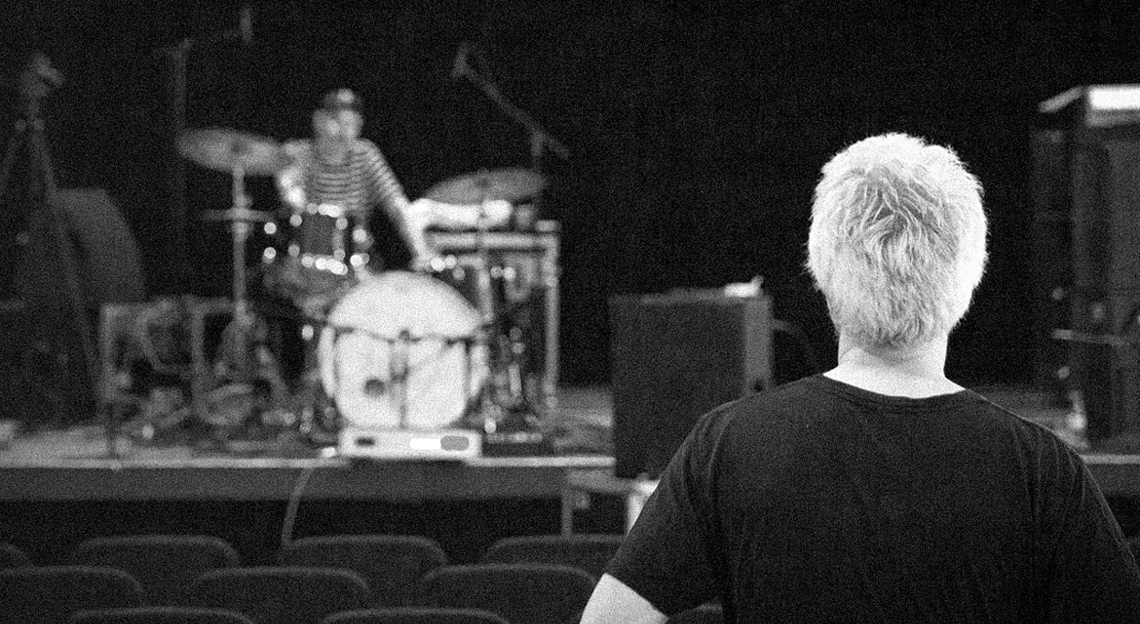
To capture the natural sound and dynamics of the kit, choose to use few microphones, strategically placed to capture the entire drum kit. This can be over the drums or slightly behind or even in front of the kit. This approach will usually result in a sound that the drummer can recognize.
To consider each drum, cymbal, and other element of the kit as separate instruments, and close mic each of these accordingly, quite a few microphones will be involved. This will result in a much different sound than the ambient approach mentioned above, with the final sound mostly in the hands of the recording engineer and producer.
Regardless, the environment, whether on the live stage or in the recording studio, will have a major impact on the sound, and thus influence the best miking approach to use. For example, if the drum kit is considered as one sound source, like often with a symphony orchestra, fewer mics placed further away from the drums is normal. The environment – the surroundings – have a greater impact on the result. A reverberant space will add a reverb to the sound and on a loud stage, while separation of the drums can be a challenge.
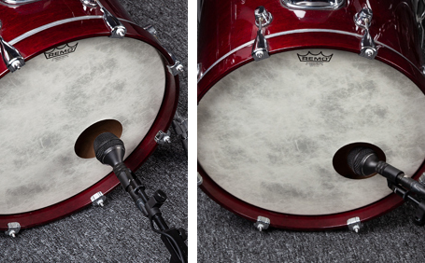
Kick drum (aka bass drum)
Kick drums come in many sizes and sounds. All have a batter head on the beater side and most also have a resonator head on the opposite side. The resonator head helps the bass drum resonate at a specific tone and is often tuned very specifically to give a preferred sonic character of the drum. The resonator head often has a hole that makes it easier and faster to place a microphone inside. Yet, placing a microphone just in front of this hole can often capture a good combination of the sound of the batter head and the resonator head.
Placing the microphone all the way inside creates a very distinct sound with a lot of attack - the sound of the beater hitting the batter head. Placement outside the hole creates a more “boomy” sound. Often a combination is desired. Angling the microphone when placed outside the hole will alter the sound and sometimes give just the attack or the low end needed.
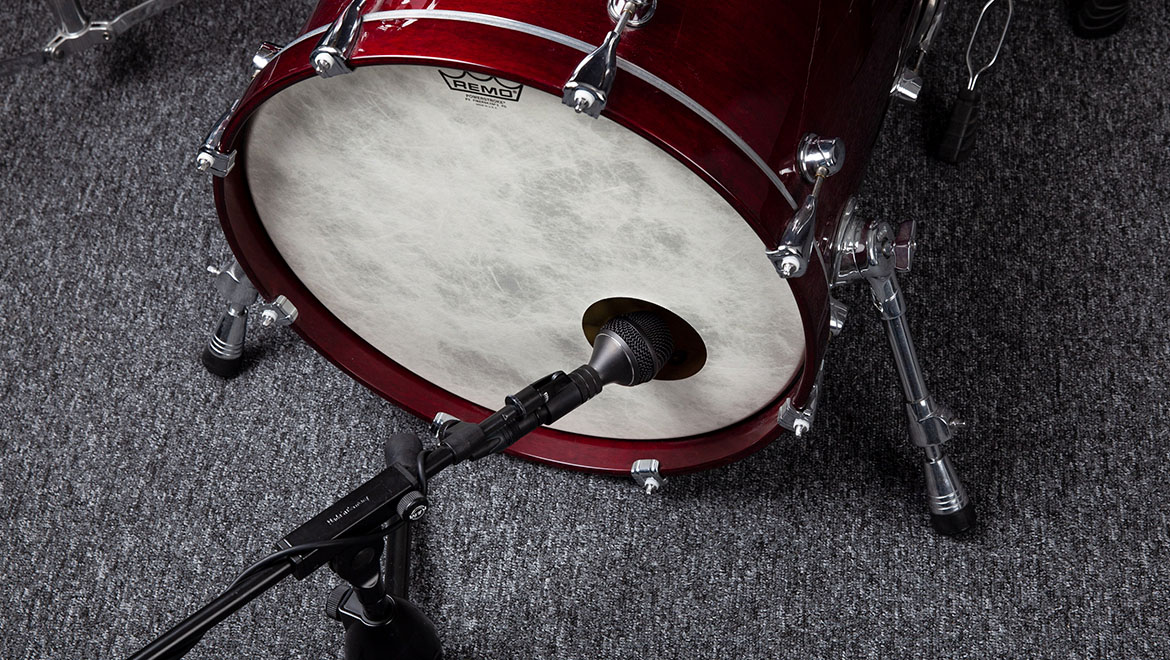
Angling the mic will also reduce potential wind issues (a lot of air is moved by the kick drum). Distance will adjust the overall bass frequency response, taking advantage of the proximity effect. It all depends on the sound you wish to produce as well as the instrument and drummer.
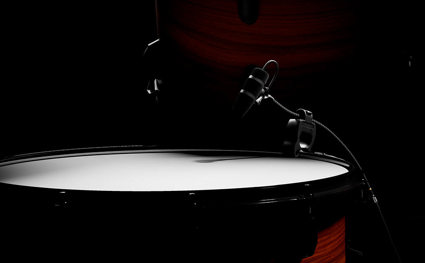
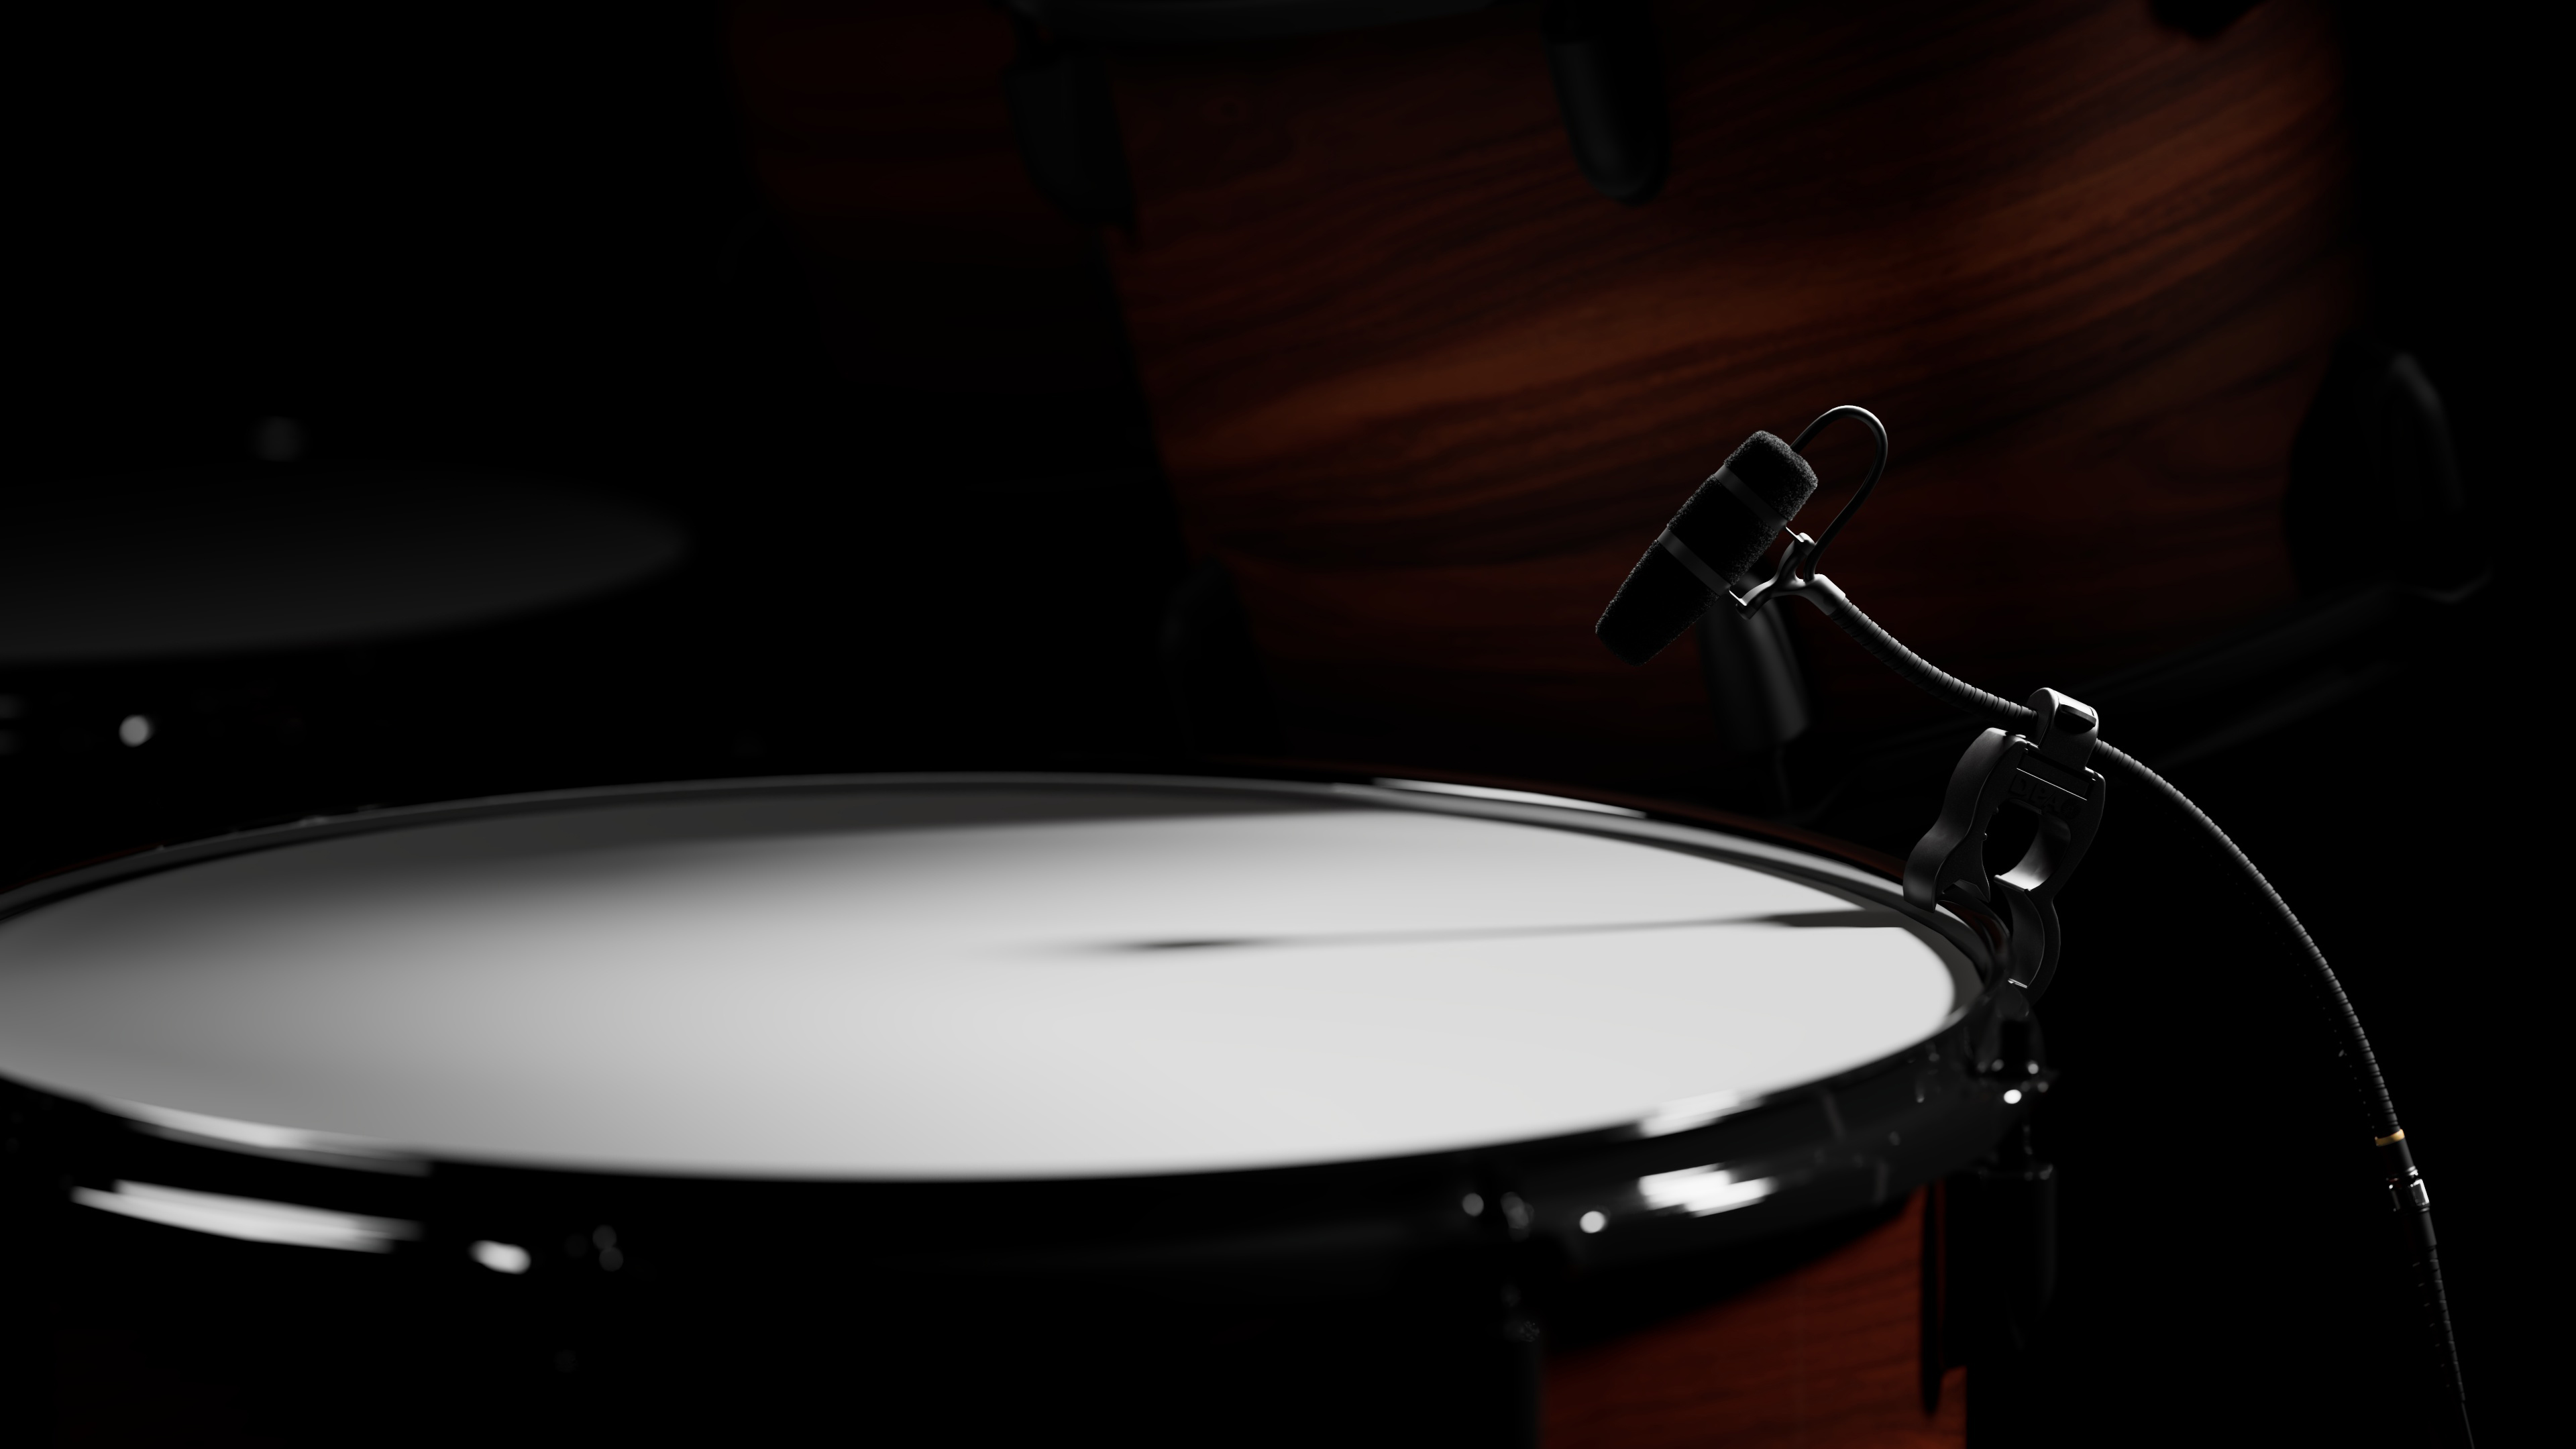
Snare drum
The snare drum’s thin metal strings are tightly strung across the resonator head on the bottom of the snare. These snares resonate when hitting the batter/top head and are therefore a distinct part of the characteristic sound of a snare drum.
Capturing the bottom snares separately can often be beneficial for later mixing so a designated microphone is often used for this.
Years ago, microphones were not capable of capturing the extreme sound pressure levels and the required high frequencies generated from the snare drum. It was always either or. A workaround was to place one microphone on top of the snare, typically a dynamic microphone with low sensitivity which could handle the extreme sound pressure level, and another microphone capable of handling high frequencies, below the drum, where the sound pressure wasn’t that extreme. This combination gave us best of both worlds, but also introduced phase issues between the types of microphones placed at different distances to the batter head of the drum.
Today these problems are solved with high-end condenser microphones that can handle extreme SPLs and capture high frequencies.
Overheads
Overhead microphones are often used on drum kits and excel in several situations. Either as the main pair to capture the drum kit sound or just to compliment the close miking and focus on capturing the cymbal sound. Depending on the number of cymbals and the size/width of the drum kit, more than one mic might be needed. A stereo pair is often used, and several stereo techniques are useful.
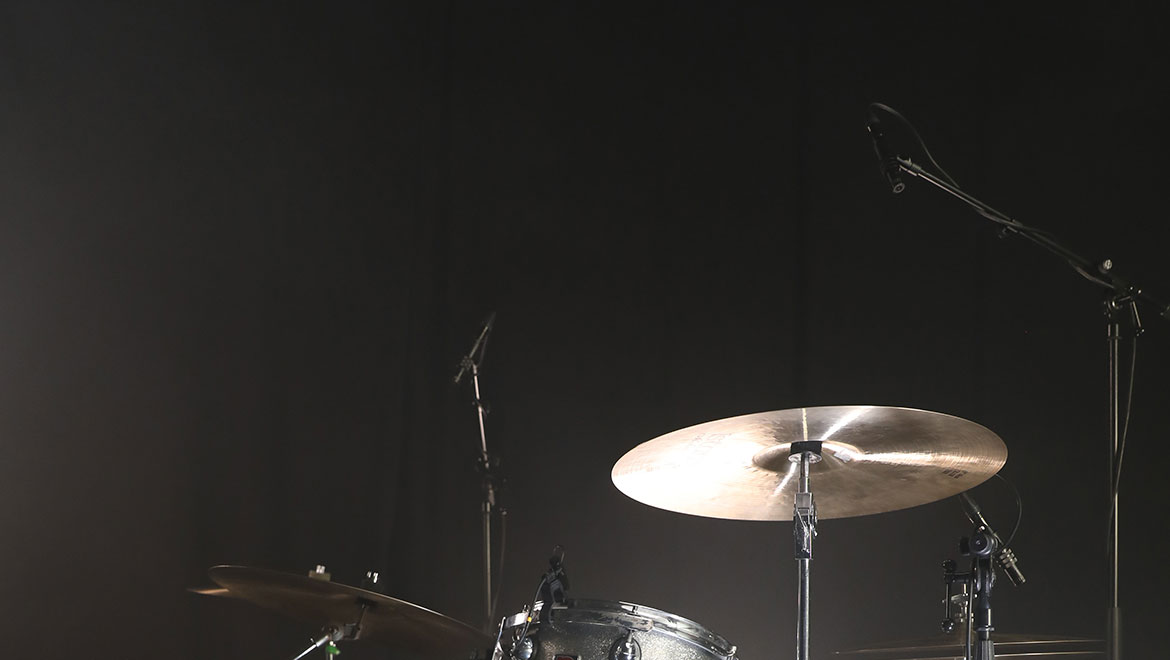
AB stereo is popular with omni or directional microphones. Wide cardioid microphones can be placed closer to the drums and still capture a large area of the kit, where cardioid or even super cardioid will be more focused and on pick up smaller areas. When placing more than one microphone as an overhead, it is a good idea to secure that the distance from the snare to each microphone is the same. This will secure that the level, time and phase of the snare drum is the same in both overhead mics. And using the snare drum as the center point, makes sense as it is often the loudest and the most dominant sound of the kit.
In some cases, an ”underhead” miking technique is preferred. Mics are placed either on separate stands or on the cymbal stand pointing the microphone upward towards the underneath the cymbals. This technique allows the cymbals to be treated more individually and is also sometimes preferred for practical and visual reasons.
Hi-hat
If the style requires the hi-hat as a distinct part in the drum mix, and not just naturally reproduced in the overhead pair, a designated microphone slightly above the hi-hat cymbals can be used. The frequencies radiated from the hi-hat are higher towards the center and lower as the mic is placed closer to the edge. Since the microphone is pointing at a reflective surface, you will hear a lot of spill from the rest of the drum kit. A good trick for more separation is to position the hi-hat mic facing away from the snare drum. Experiment with the angle of the microphone.
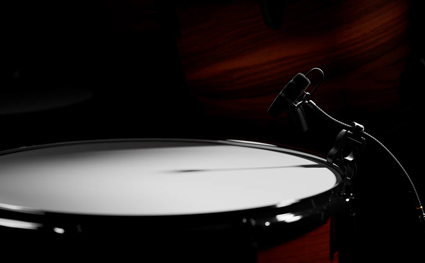
Tom-toms (aka rack toms)
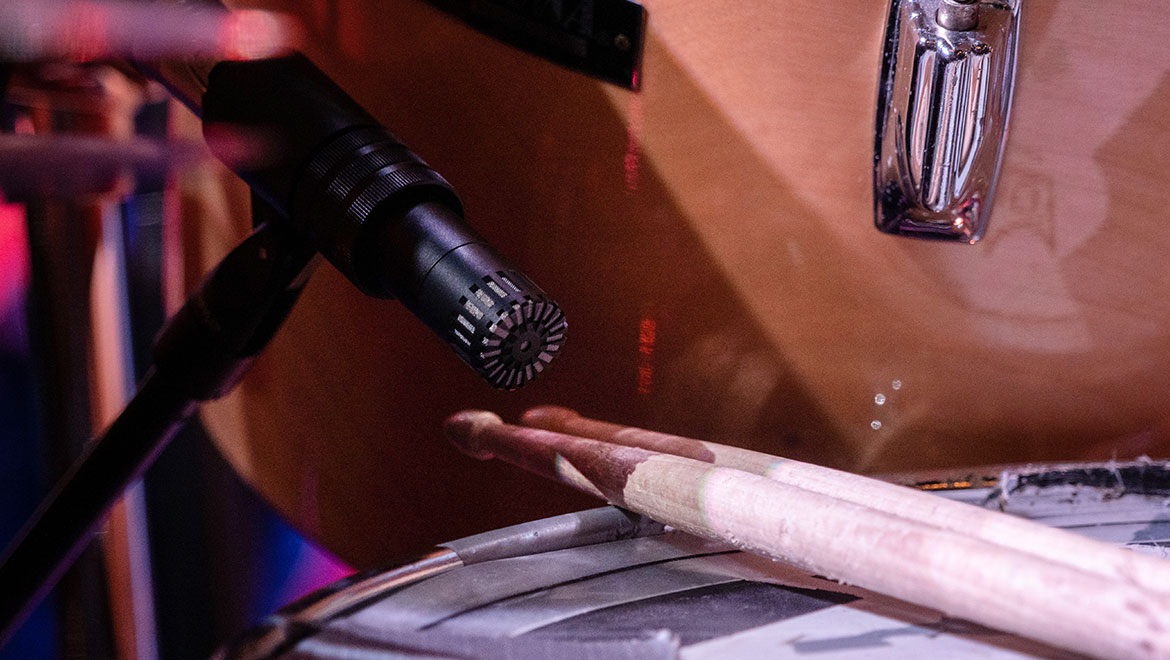
Tom-toms can be miked the same way as the snare, except that the tom-toms do not have metal strings (snares) underneath, so capturing the resonator head has a different purpose. Pointing the microphone closer to the rim creates a higher pitch attack and pointing it more towards the centre of the drum will generate a low end, more boomy sound with more level.
Tom-toms have different roles depending on the style played, so some considerations and genre aesthetics must be considered. In some genres, it is not common to use tom-tom mics at all. In these cases, accurately placed overheads are used to capture a balanced sound. But for pop and rock, the tom-toms require a closer miking technique to achieve a very isolated signal to process individually.
It is recommended to experiment with different positions and angles to find the desired sound and minimize the bleed from the cymbals, which are often very close to the mics on the tom-toms.